
In times of COVID-19 and the rise of telework and online video conferences, having a decent webcam is key to making a good impression. But what if your webcam is just not that good or you simply don’t have one?
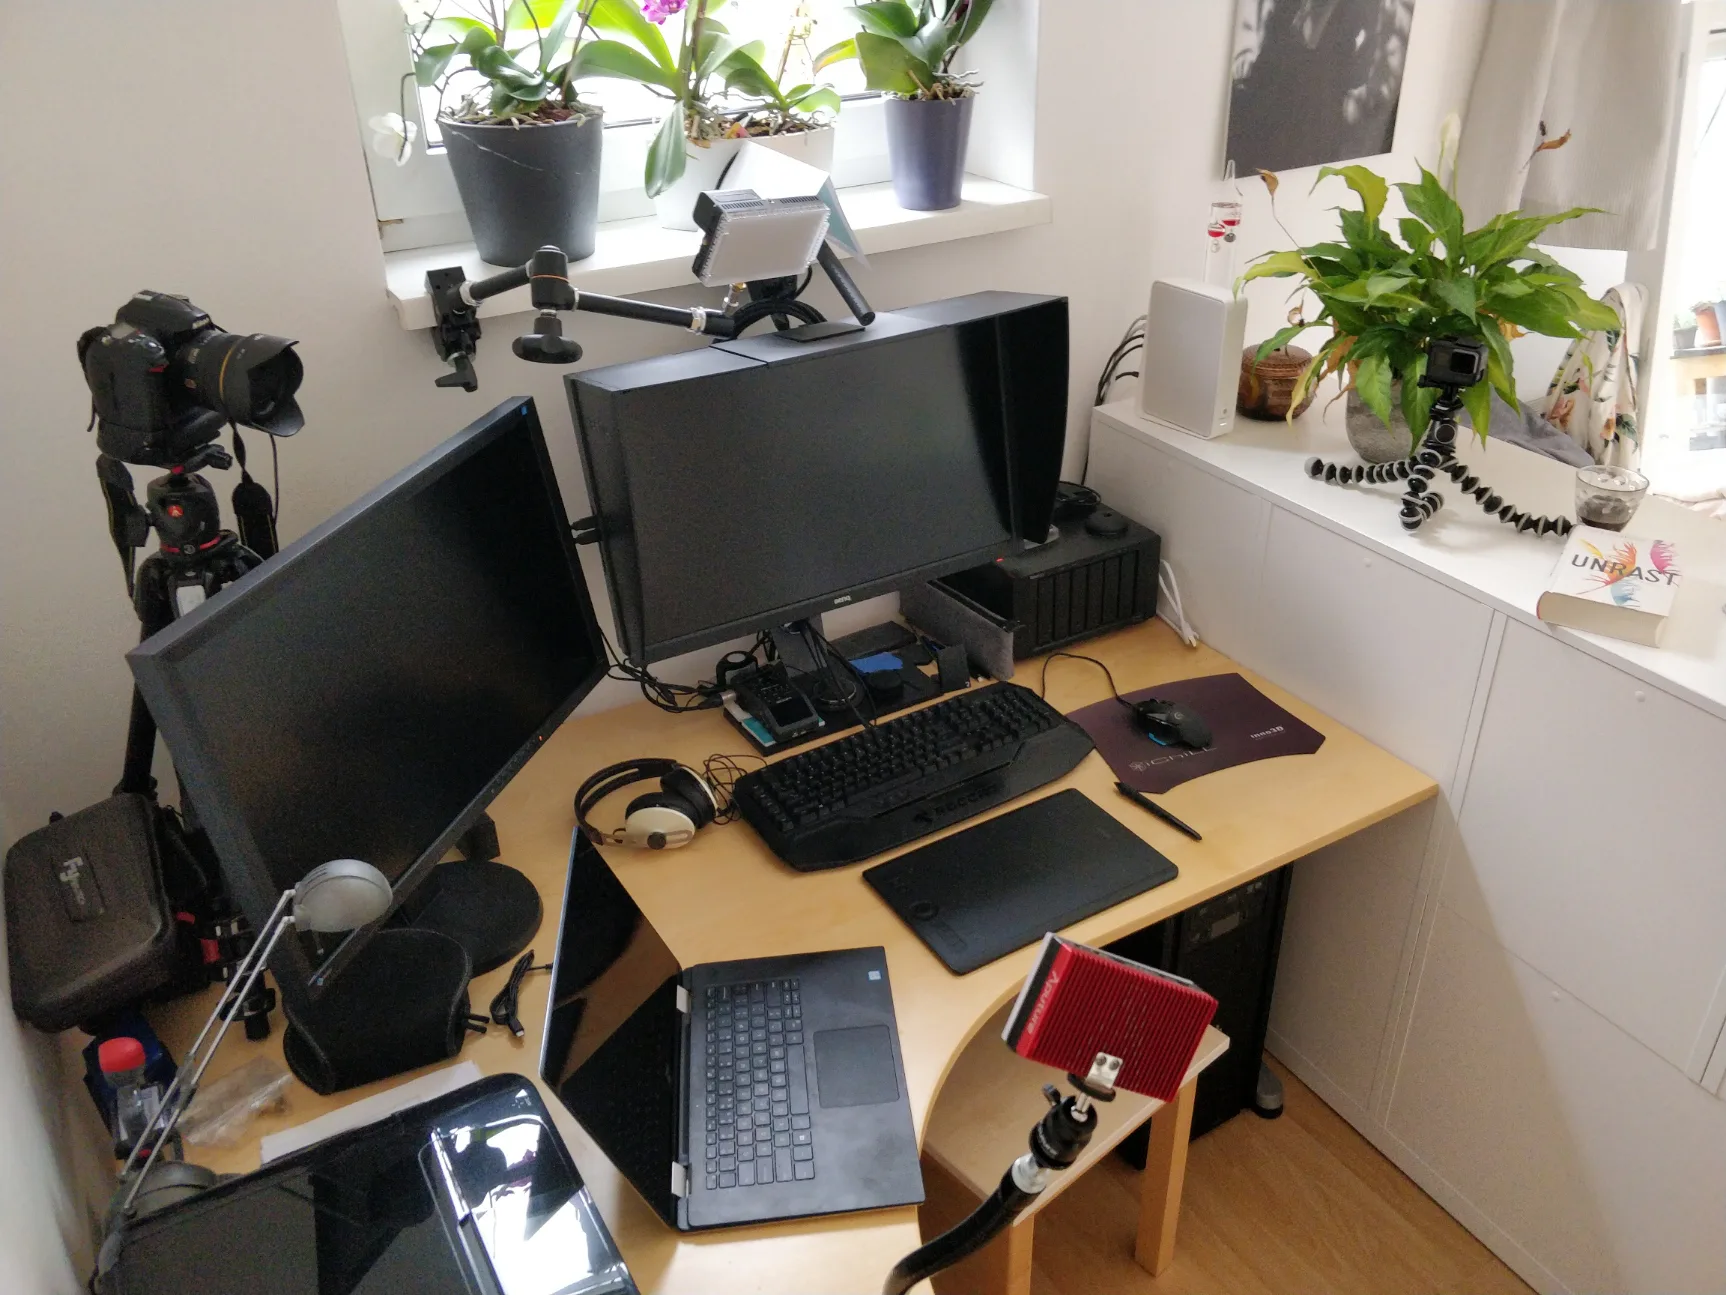
As in my last article on how to use your GoPro as a webcam I will give you an easy to follow step by step guide on how to use your Canon, Nikon or Sony camera as a webcam. With this method you don’t need an expensive capture card. Rather invest your money in a good headset with a decent microphone. Your video chat partners will thank you!
Update 1: The easiest way for Canon EOS users as of now is at the bottom of this article.
Update 2: Nikon released a webcam utility, too. See bottom of this article. The OBS method might still be better as to limited support of cameras as of now.
What you need:
- digiCamControl open-source software (list of supported cameras)
- OBS Studio
- OBS VirtualCam Plugin for OBS Studio
- Your camera
- A USB cable to connect your camera with your PC/laptop
So let’s get to it:
- Install digiCamControl
- Install OBS Studio
- Install OBS VirtualCam Plugin
- Connect your camera with the USB cable to your PC/laptop and turn it on.
Important: Set the monitor off delay for live view to the maximum in your camera settings. - Start digiCamControl
You should see the name of your camera in the upper left of the user interface. - Go to File->Settings->Webserver and enable “Use web server“
- Copy the MJPEG Stream address
- Restart digiCamControl for the settings to take effect
- After reopening the app click the round Lv icon in the menu bar to start the live view of your camera. A new window should open up with a live image of your camera. You can control focus, aperture, ISO, shutter time and more within this window.
- Start OBS Studio
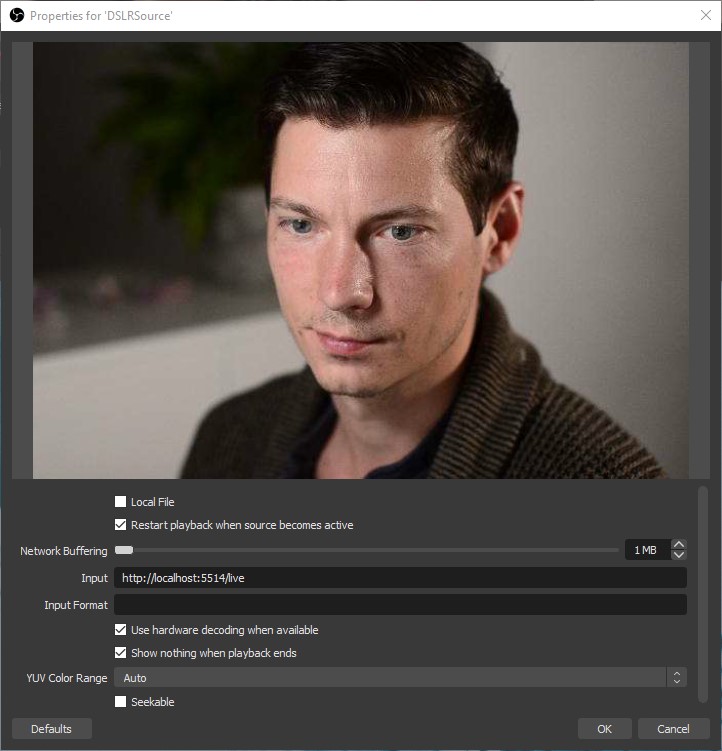
- Add a new scene and call it DSLR
- Add a new media source and call it DSLRSource
- Uncheck “Local File” and paste the previously copied MJPEG stream address into the “Input” text field.
Your live view should appear now in the window above. If it doesn’t click okay and try to switch to another scene and back to DSLR. If the live view still doesn’t show up in OBS Studio try to close both OBS Studio and digiCamControl. Reopen digiCamControl (always open this one first) then start the live view. Then open OBS Studio again. It should work now. - Go to Tools->VirtualCam and hit start
Pro tip: Enable “AutoStart” to start the webcam every time when opening OBS Studio.
You are all set and can use your high end webcam in your favorite video conferencing tools. Please be aware that the UWP version of Skype doesn’t support this webcam interface but Skype for Business and the normal Skype desktop client does. Zoom, Microsoft Teams, Facebook, etc. should all work out of the box. Just one sidenote: Your camera will only transmit a video but no audio signal so use your built in microphone, a headset or an external microphone.
That’s it. Be happy and buy me a beer if this guide helped you. :)


Update for Canon cameras:
- Download and install EOS Webcam Utility Software
- Restart your computer
- Turn on your camera and set it to movie mode
- Adjust your exposure settings for the desired look
- Connect your camera to your PC via USB cable
- Open your video conference/chat software and set the webcam to EOS Webcam Utility
- Done.
Update for Nikon cameras:
- Download and install Nikon Webcam Utility
- Analogue to the Canon utility above
Is it true that you can record audio9 from a camera in Digicam but the web server function does not transmit the audio?
As far as I know you are correct.
Thanks for the concise set of instructions. They worked well. Now to work audio into OBS.
I am glad my instructions worked for you!
The easiest would be connecting an external microphone to your PC or use a headset. Remember that the OBS webcam plugin doesn’t transmit the audio. If you want to use OBS as a recording device only or stream live (without the webcam plugin) you can simply select the microphone as your audio source. For webcam use select the microphone in the drop down of your video conferencing/chat application. That should be it.
OMG THANK YOU VERY MUCH THIS SAVED ME 10 DOLLARS AND AN OFFICE REFERAL!!!!
Hi! Do you know if there is an alternative to digiCamControl for MacOS that you could recommend? Thanks
You could try https://dslrdashboard.info/
ok cool , but how to control the camera remotely ? like to take photos …the camera is a birdhide 100km from me , yes there is internet too
Hi Chris,
For remote control of the camera you can have a look at https://github.com/gopro/OpenGoPro
Furthermore depending on your GoPro model you can call HTTP endpoints to execute commands. Here is the link: https://github.com/KonradIT/goprowifihack
Hope this helps!
All the best,
Helmut