
The latest Adobe Creative Cloud update introduced a new slider in Lightroom Classic, Lightroom CC and Camera Raw May 2019 release. It’s called Texture.
Adobe describes it like this:
You can now smoothen or accentuate details such as skin, bark, and hair with the new Texture slider. You can adjust the Texture slider negatively to smooth skin and retain fine pore details to ensure natural-looking skin. You can increase the Texture amount to accentuate details such as bark or hair without affecting less detailed areas, like the out of focus areas in a photograph. Adjusting the Texture slider does not change the color or tonality in your photograph.
Source: https://helpx.adobe.com/lightroom-classic/help/whats-new/2019-3.html#texture
But what are the differences to the Clarity slider?
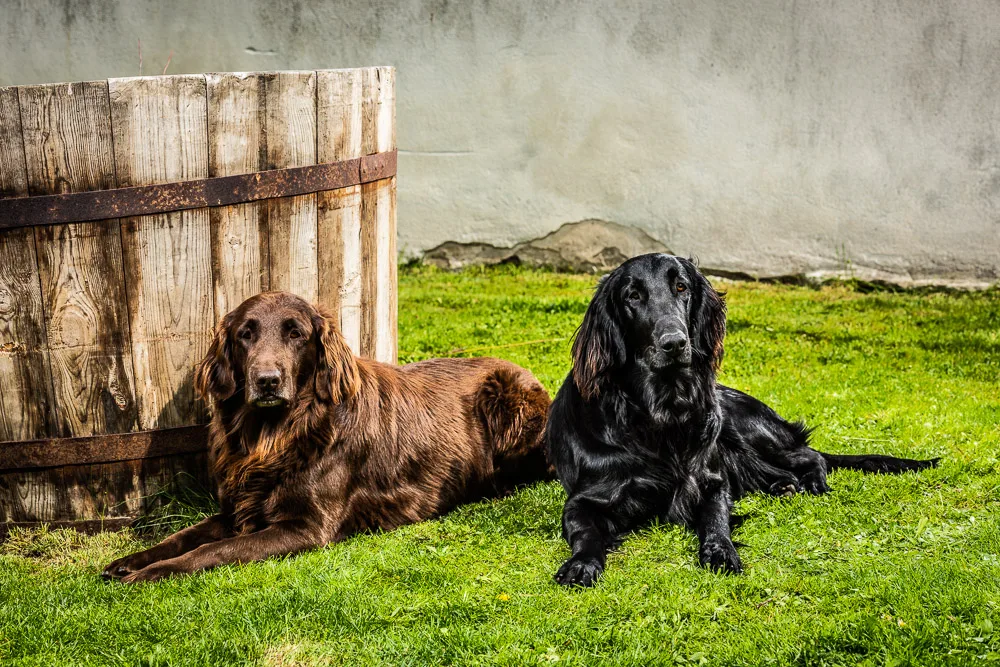
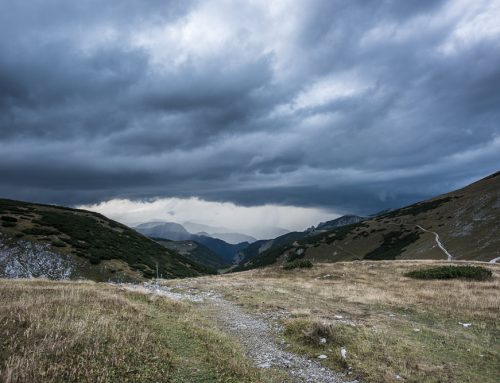
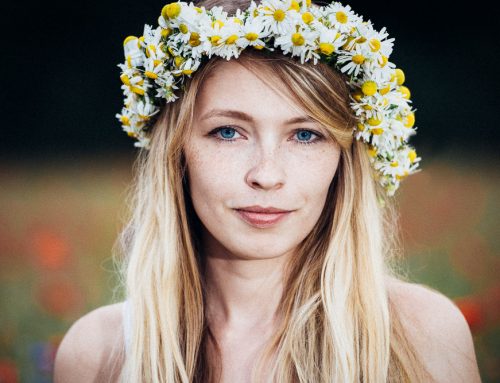
First have a look at the difference between the original image and the image with Clarity set to 100.

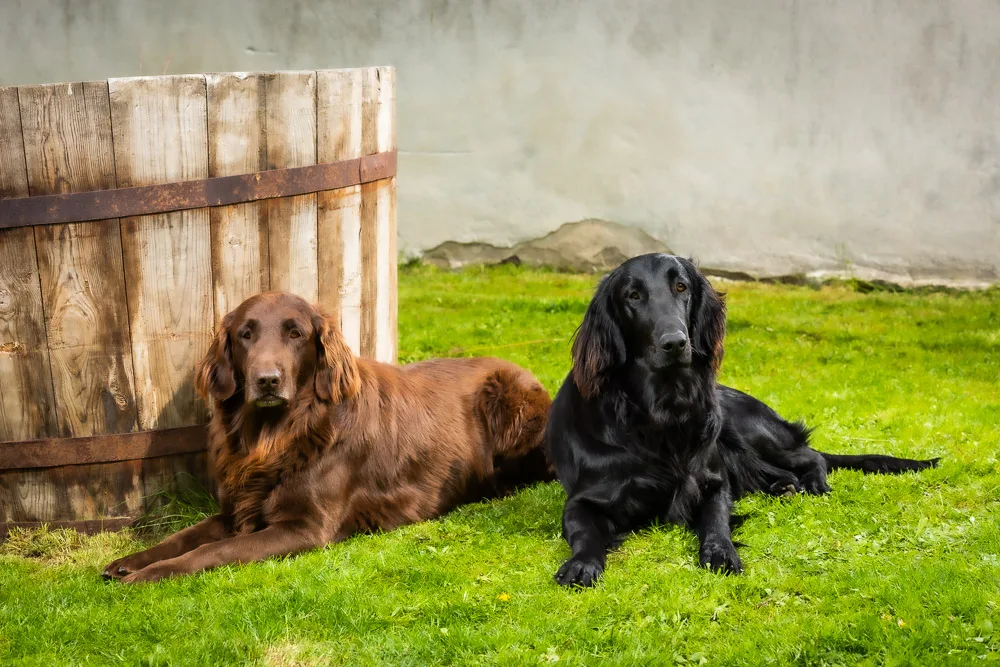
Here is the original image compared with Texture set to 100.

Now Texture and Clarity settings compared. Both are set to 100.
As you can see in the images the clarity slider in Lightroom darkens contrasty image areas, reduces the color saturation and slightly bleeds over the edges. The Texture slider improves the contrast in an area and doesn’t affect surrounding areas.
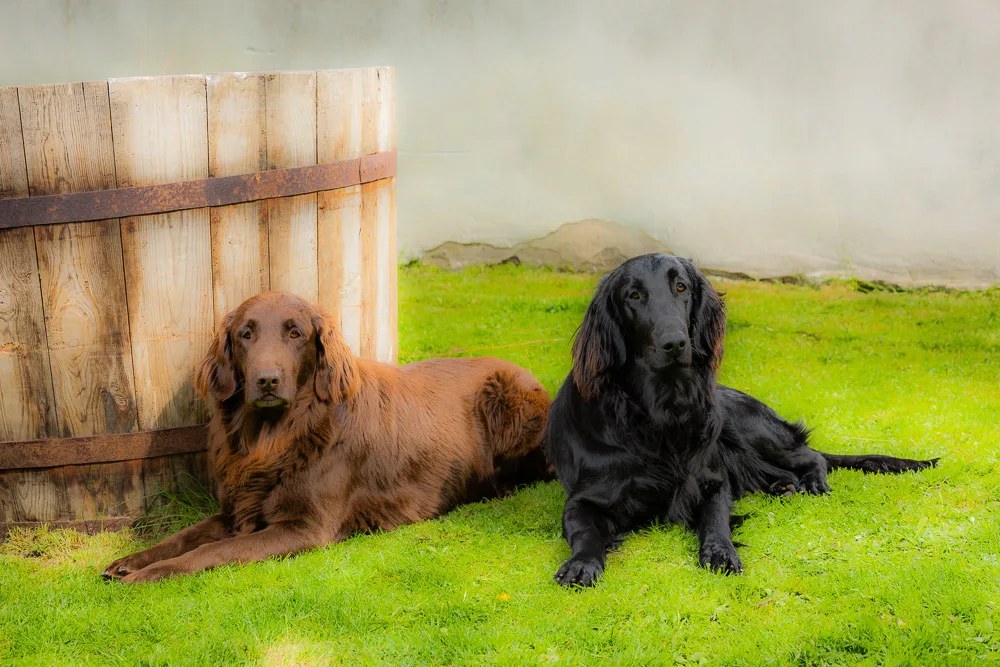
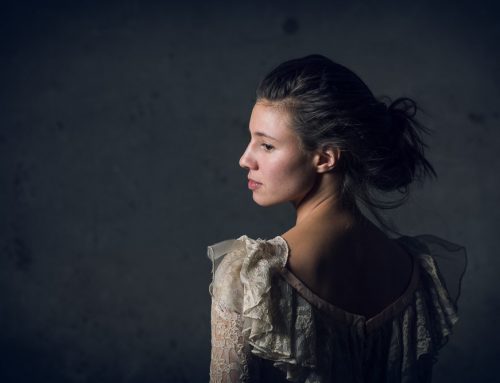
Now the original image vs. the image with Clarity set to -100.
The same with original image vs. Texture set to -100.
A comparison between Clarity and Texture. Both set to -100.
While the Clarity setting gives a look that I describe as 80’s wedding album skin smoothening the Texture slider almost delivers a oil painting like look when set to -100. I personally think that the Clarity setting was always good to enhance a dramatic sky and I will continue using it for that purpose. For skin, hairs and other details I am really happy to adopt the new Texture setting as the results look really pleasing to my eye.
What do you think of the new slider? Which one do you prefer? Please let me know in the comments below!


Leave A Comment